Are you dreaming of transforming your space with beautiful new tiles? We get it – there’s something special about walking into a room with perfectly installed tile work that just makes you smile.
At Anyvision Home Remodeling, we’ve been helping homeowners throughout Redmond create stunning spaces with expert tile installation that stands the test of time. Whether you’re thinking about a cozy bathroom makeover or want to add some pizzazz to your kitchen backsplash, we’re here to share our passion for creating beautiful, lasting results.
Why Professional Tile Installation Services Are Best
You know those satisfying home renovation shows where everything looks perfect? Well, the secret behind those gorgeous results is professional installation. We’ve seen it all – from DIY projects gone wrong to incredible transformations that make homeowners beam with pride.
The truth is, installing tile requires more than just placing squares in a row. It’s about understanding how different materials work together, like how porcelain tile behaves differently from natural stone when paired with various types of mortar.
One of the biggest challenges we see is proper surface preparation. A stable subfloor and the right underlayment are absolutely crucial for a successful tile installation project.
Think of it like building a house – without a solid foundation, even the most beautiful materials won’t stand up to daily use. We take the time to assess every surface, making sure it’s perfectly level and ready to support your new tiles for years to come.
Installing Floor Tiles: Our Unique Process
Let’s talk about how we make magic happen! Our process starts with a thorough assessment of your space and careful planning. Think of it as putting together a puzzle – each piece needs to fit just right.
We use professional-grade tools like wet tile saws and specially sized trowels to ensure precise cuts and proper mortar application. Here’s what makes our process special:
- Surface preparation and leveling
- Professional-grade underlayment installation
- Precise tile spacing using professional spacers
- Expert mortar application techniques
- Careful grouting with attention to detail
The real art comes in during the layout phase. We take time to plan the pattern, ensuring that cut tiles are placed in less noticeable areas and that the overall flow of the room feels natural. When it comes to tile installation, these small details make a huge difference in the final look.
Installing Floor Tiles: Our Unique Process
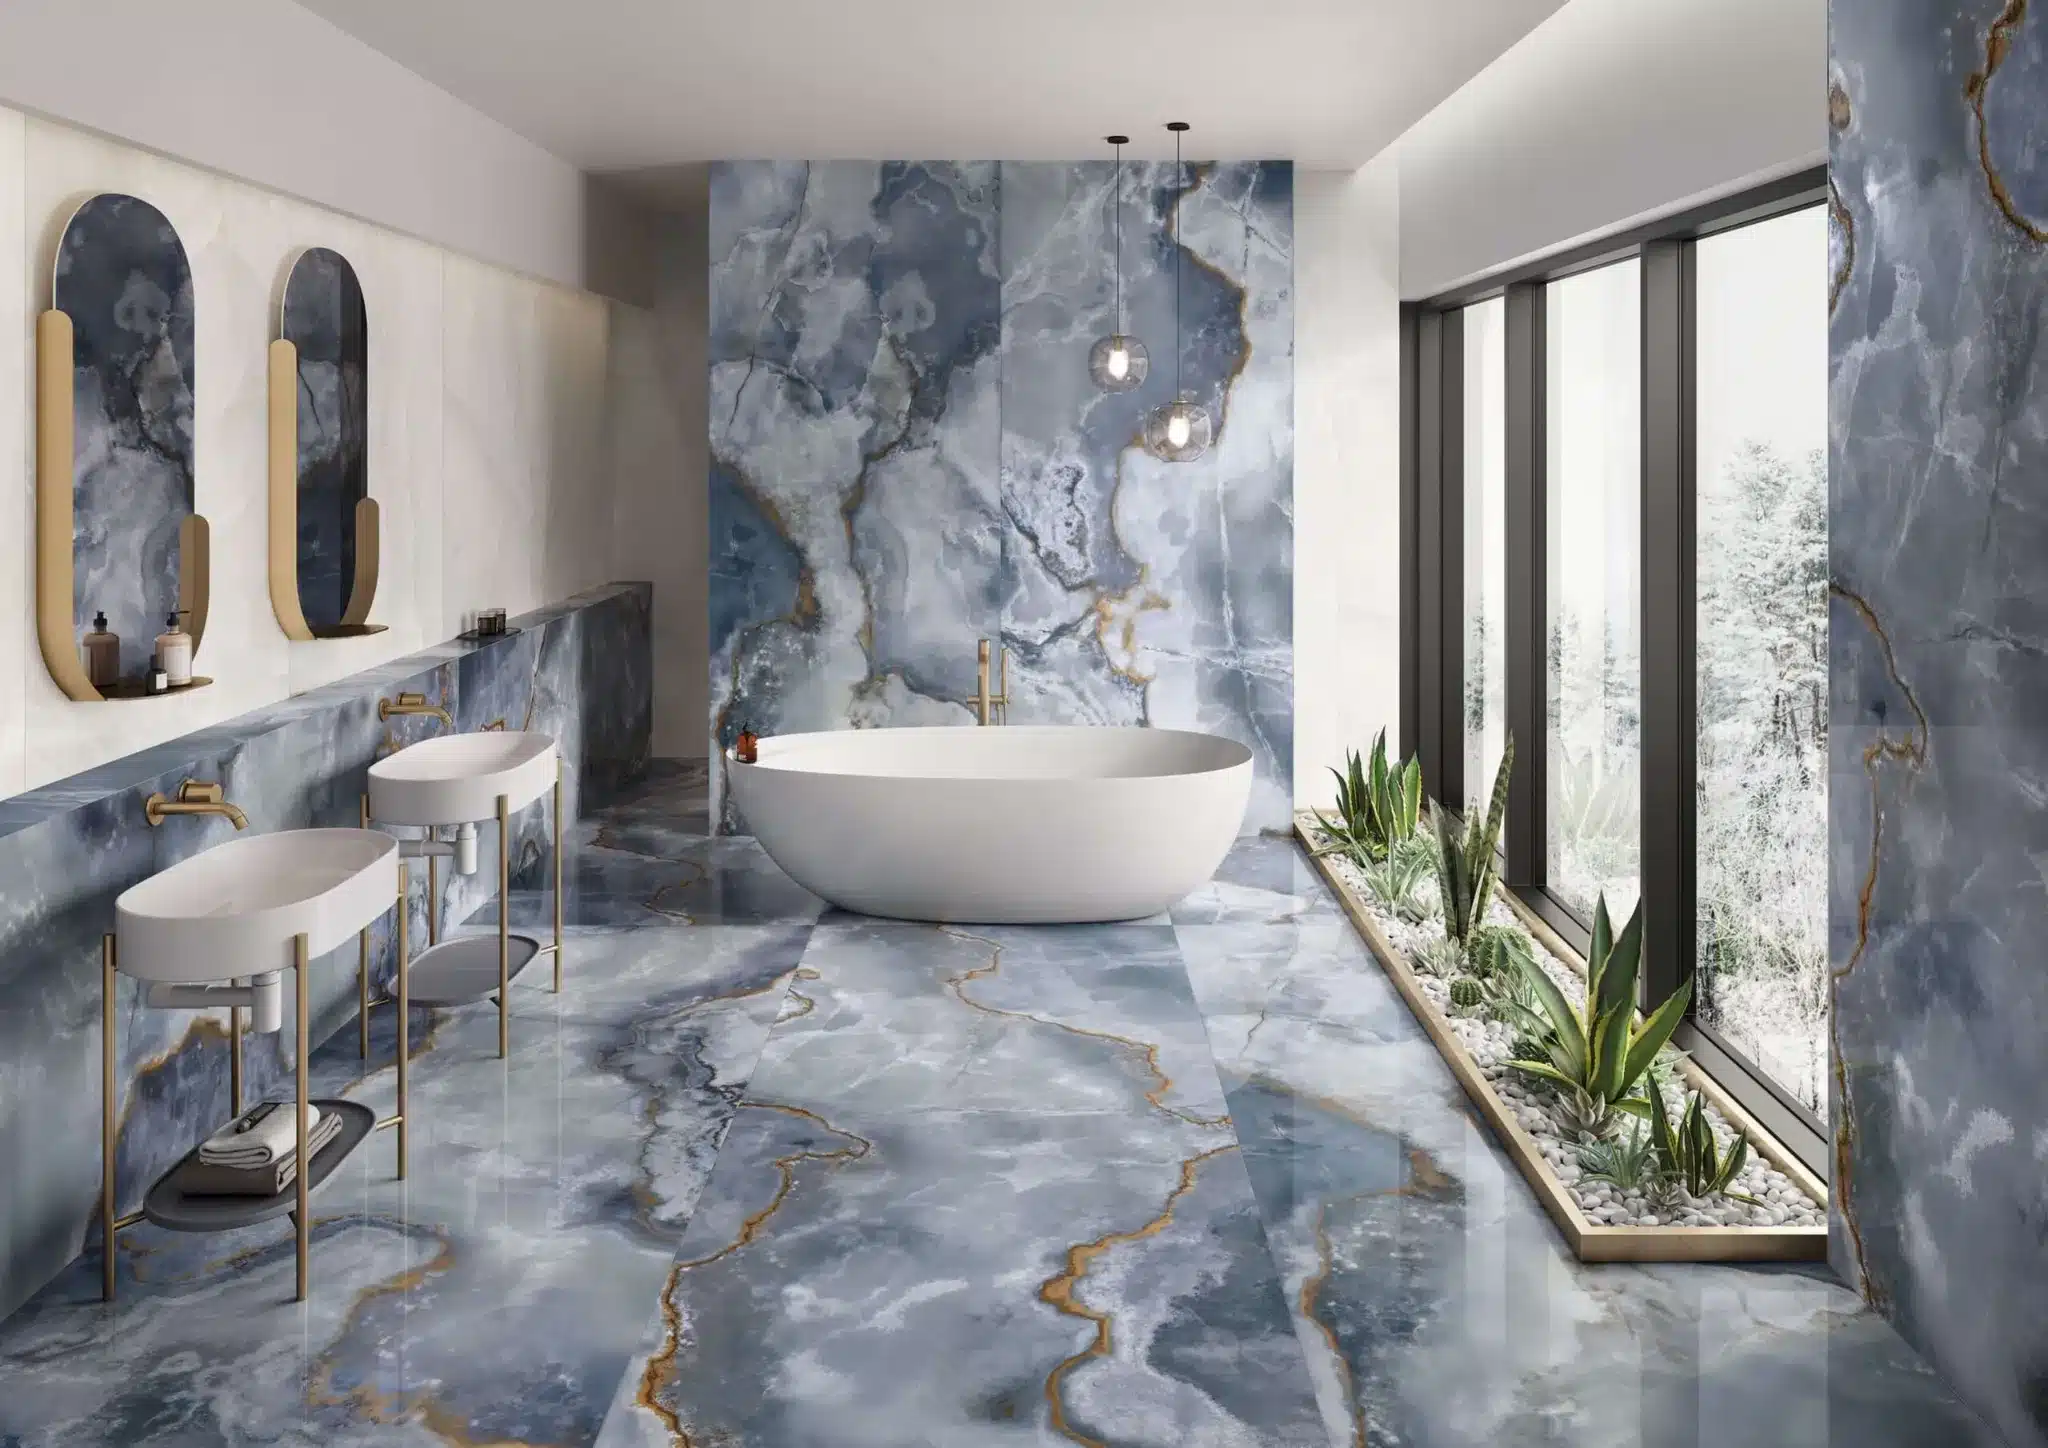
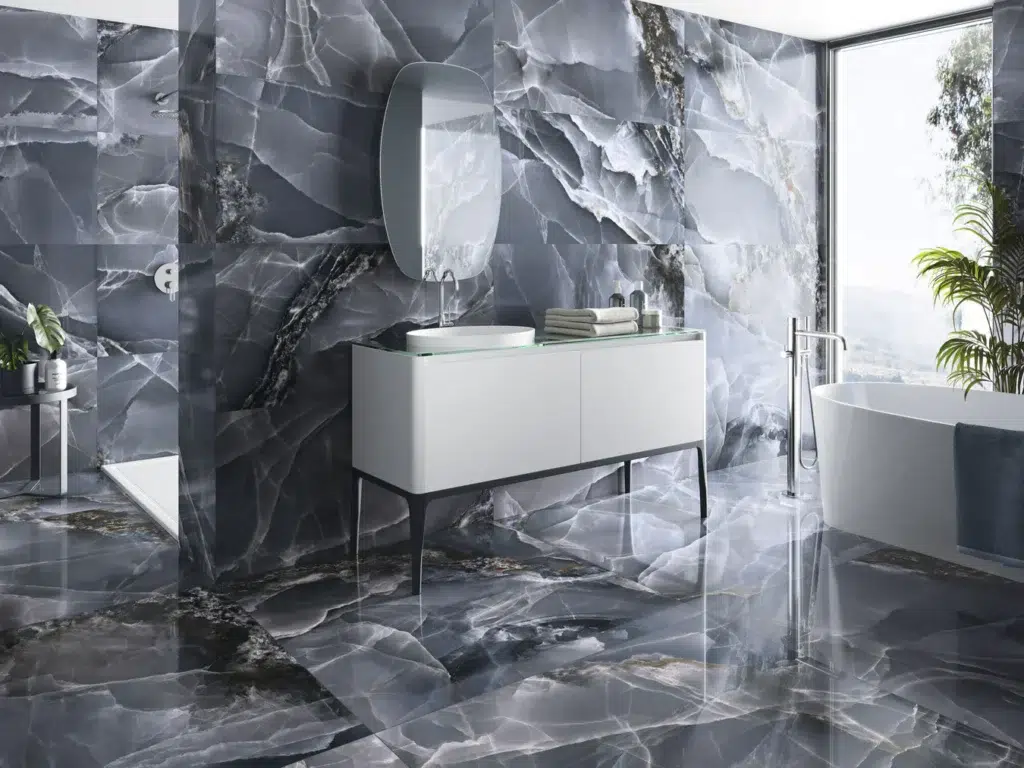
Having proper materials in your bathroom is super important, that’s why choosing the right tile materials is a crucial and often underlooked step. While it may not look like it in this video, these are still considered tiles!
Anyvision Home Remodeling: Your Redmond, WA Contractor
What sets us apart isn’t just our technical expertise – it’s our passion for getting every detail just right. We love seeing the look on our clients’ faces when they walk into their newly tiled space for the first time. Whether we’re working with ceramic tile in a shower or laying intricate patterns with natural stone in an entryway, we treat every project like it’s our own home.
Our team stays up-to-date with the latest installation techniques and materials, ensuring your project benefits from modern innovations while still maintaining tried-and-true craftsmanship. We believe in doing things right the first time, using high-quality materials and proper techniques that ensure your new tiles will look beautiful for years to come.
Get Your First Tiles Installed With Us Today!
Ready to start your tile transformation journey? We’re excited to help bring your vision to life! Whether you’re dreaming of a spa-like bathroom retreat or a stunning kitchen backsplash, proper tile installation makes all the difference in achieving those magazine-worthy results you’re hoping for.
Remember, great tile work is an investment in your home that pays off in both beauty and value. Give us a call today to schedule your consultation – we can’t wait to show you how we can transform your space with expert tile installation that truly stands out. Let’s create something beautiful together!
FAQ
Q: How long should I wait before grouting newly installed tile?
A: Generally, you should wait 24-48 hours after laying tile before applying grout. This allows the thinset mortar to properly cure. Always check the manufacturer’s recommendations, as curing times can vary based on temperature and humidity.
Q: What's the best way to prepare a subfloor for tile installation?
A: Start by ensuring your subfloor is completely level and stable. Install cement backer board using a notched trowel and proper fasteners. Use a chalk line to create reference lines from the center of the room outward for perfect alignment.
Q: How do I know if I need to use tile spacers?
A: Always use tile spacers to ensure consistent grout lines and proper alignment. Place them at each corner where tiles meet, removing them before the mortar fully sets. This creates professional-looking results and prevents tiles from shifting during installation.
Q: What's the proper way to mix and apply grout?
A: Mix grout with clean water according to package instructions until it reaches peanut butter consistency. Apply diagonally across joints with a rubber float, then clean excess with a damp sponge after 15-20 minutes. Always work in small sections.
Q: How do I cut tiles for edges and corners?
A: For straight cuts, use a manual tile cutter or wet saw. For irregular cuts around fixtures, use a tile nipper. For 45-degree angle cuts, mark your line clearly and use a wet saw with an adjustable cutting guide for precise results.