Introduction TO Bathroom Remodeling Steps
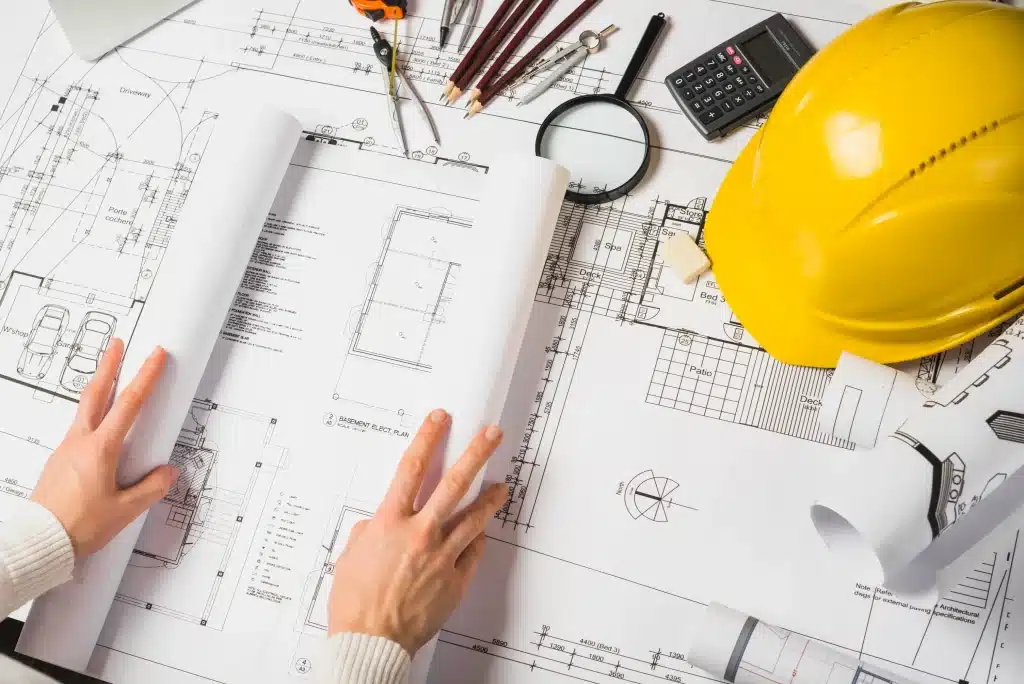
So, you’re thinking about giving that old bathroom a facelift? Fantastic choice! The bathroom might be one of the smaller rooms in your home, but it’s where you kick-start your mornings and unwind at night—so why not make it amazing? As a seasoned general contractor, I’ve helped countless homeowners turn their outdated bathrooms into stunning, functional spaces that they absolutely love. Sure, the idea of remodeling can seem a bit overwhelming at first—the tiles, the fixtures, the plumbing—but don’t sweat it! I’m here to guide you through the process, step by step. With a solid plan and a bit of elbow grease, you’ll be enjoying your dream bathroom in no time. So grab a cup of coffee, get comfy, and let’s dive into the five essential bathroom remodeling steps that’ll make your renovation a smashing success.
Step 1: Dream Big, Plan Smart
Visualize Your Ideal Bathroom
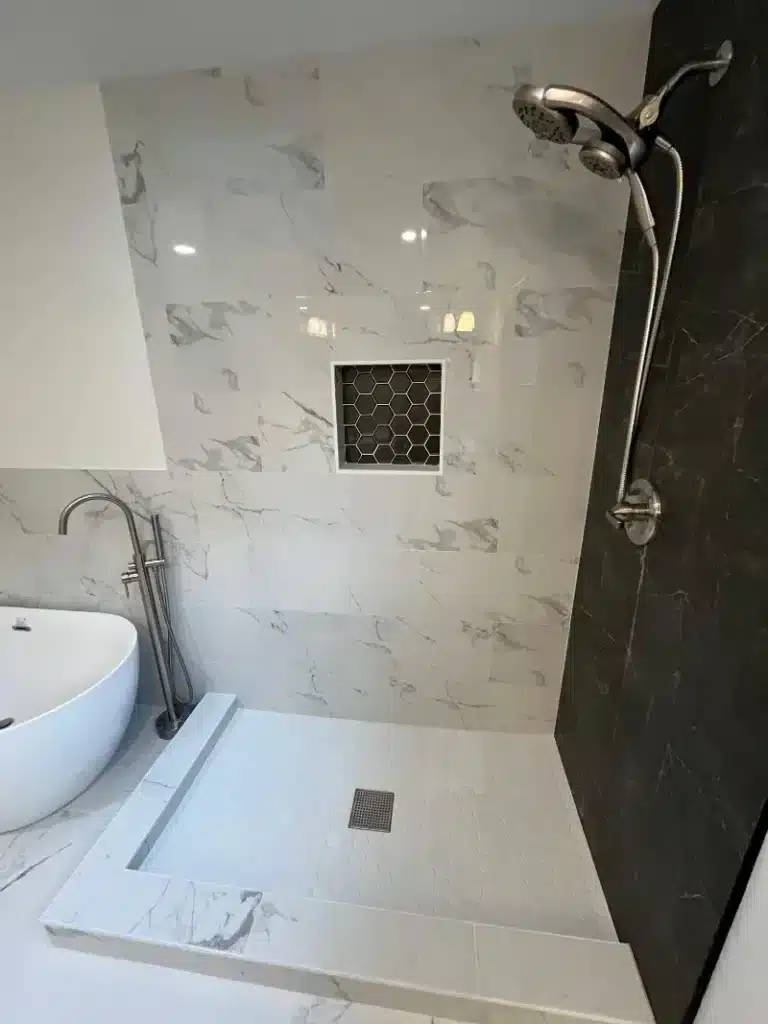
First things first—let’s dream a little! Close your eyes and picture your perfect bathroom. Do you see yourself soaking in a luxurious tub with jets, or are you more about a sleek, walk-in shower with a rainfall showerhead? Maybe you need double sinks to keep the peace during busy mornings, or perhaps extra storage for all those towels and toiletries. Whatever your vision, jot it down. Create a scrapbook or a digital folder with pictures from magazines or websites that inspire you. This is your chance to get creative and really define what you want.
Set a Realistic Budget
Alright, now let’s talk numbers. I know, the bathroom remodeling steps are’nt as fun as picking out fixtures, but it’s super important. Determine how much you’re willing and able to spend on this project. Keep in mind, costs can add up quickly—not just the big items like tubs and vanities, but also things like faucets, lighting, and even towel racks. Don’t forget to factor in labor costs if you’re hiring professionals, and always, always set aside a contingency fund (around 10-15% of your budget) for those unexpected surprises that tend to pop up during renovations. Trust me, planning for the unexpected now will save you headaches later.
Step 2: Design Your Layout Wisely
Balance Aesthetics and Functionality
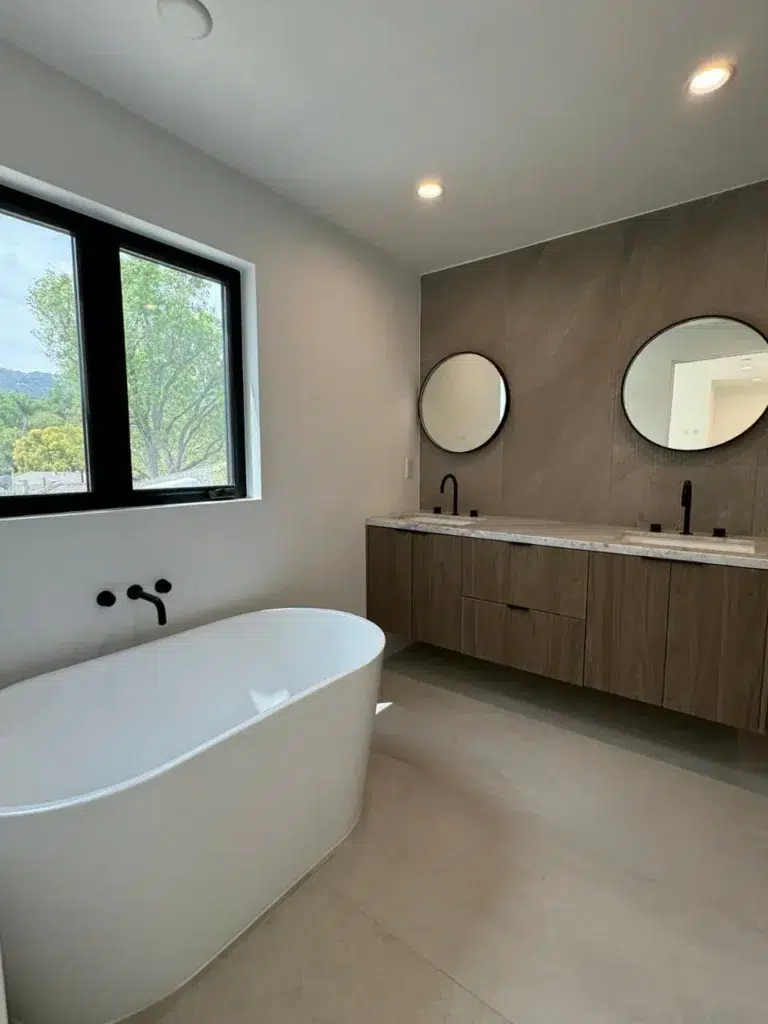
With your vision and budget in hand, it’s time to plan the layout. Maybe you’re thinking about moving the toilet to create more space or adding a double vanity. Just remember, changing plumbing locations can increase costs significantly. Strive for a design that not only looks great but also makes your daily routine smoother. Think about the flow of the room—can you move around easily? Is everything within reach? A well-thought-out layout is key to a successful remodel.
Choose the Right Materials and Fixtures
Now comes the fun part—choosing materials and fixtures! While that marble countertop might look stunning, there might be a quartz option that offers similar beauty with less maintenance and a friendlier price tag. The same goes for flooring and wall tiles—porcelain and ceramic tiles are durable and come in a variety of styles. When picking fixtures like faucets and showerheads, consider both style and water efficiency. Opt for materials that can stand up to humidity and daily use, ensuring your bathroom stays beautiful for years to come.
Step 3: Prep for Construction
Secure Permits and Prep the Space
Before any demolition begins, make sure you’ve got all the necessary permits. This step ensures your remodel meets local building codes—a crucial factor if you ever plan to sell your home. Skipping permits can lead to costly fines or even having to undo the work. Once that’s sorted, clear out your bathroom. Remove all personal items, and protect other areas of your home by laying down drop cloths or plastic sheeting to keep dust and debris contained.
Demolition Day
Time to roll up your sleeves! Safely remove old fixtures, tiles, and cabinets. If you’re taking the DIY route, be cautious with your bathroom remodeling steps. Turn off water and electricity to the bathroom before you start, and watch out for hidden wires or pipes. Use the proper tools, and wear safety gear like gloves and goggles. Proper demolition sets a solid foundation for the work ahead, so take your time and do it right.
Step 4: Bring in the New
Install Plumbing and Electrical Fixtures
With the old out of the way, it’s time to install new plumbing and electrical systems with our bathroom remodeling steps. This is where professionals really earn their keep. Proper installation ensures safety and prevents future problems like leaks or electrical issues. If you’re updating or adding new fixtures, this might involve rerouting pipes or wiring. Consider installing energy-efficient options like LED lighting and low-flow toilets or showerheads—they’re good for the environment and your wallet.
Walls, Floors, and More
Next up: installing new walls, flooring, and tiles. Whether you’re laying down classic ceramic tiles or going for that trendy wood-look tile, precision is key. Make sure surfaces are properly prepped to prevent issues like cracking or water damage down the line. Don’t rush this step—the quality of installation will affect both the look and durability of your bathroom. Once the floors and walls are in, you can install the vanity, cabinets, and other major fixtures. It’s exciting to see everything come together!
Step 5: The Finishing Touches
Add Accessories and Personalize
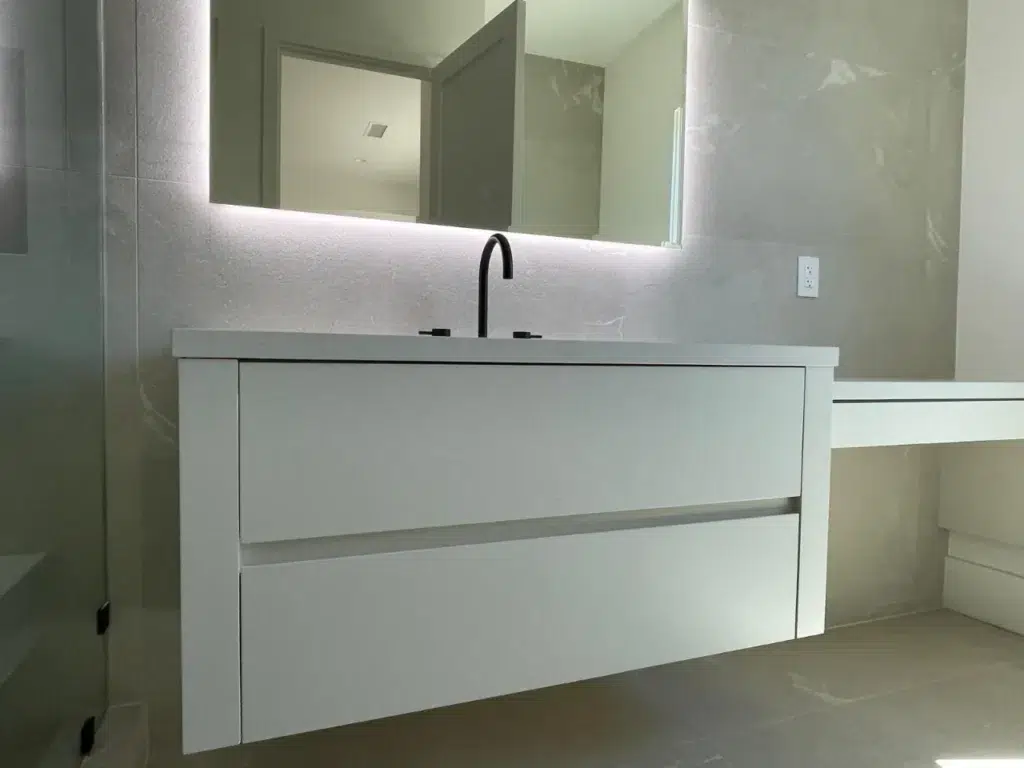
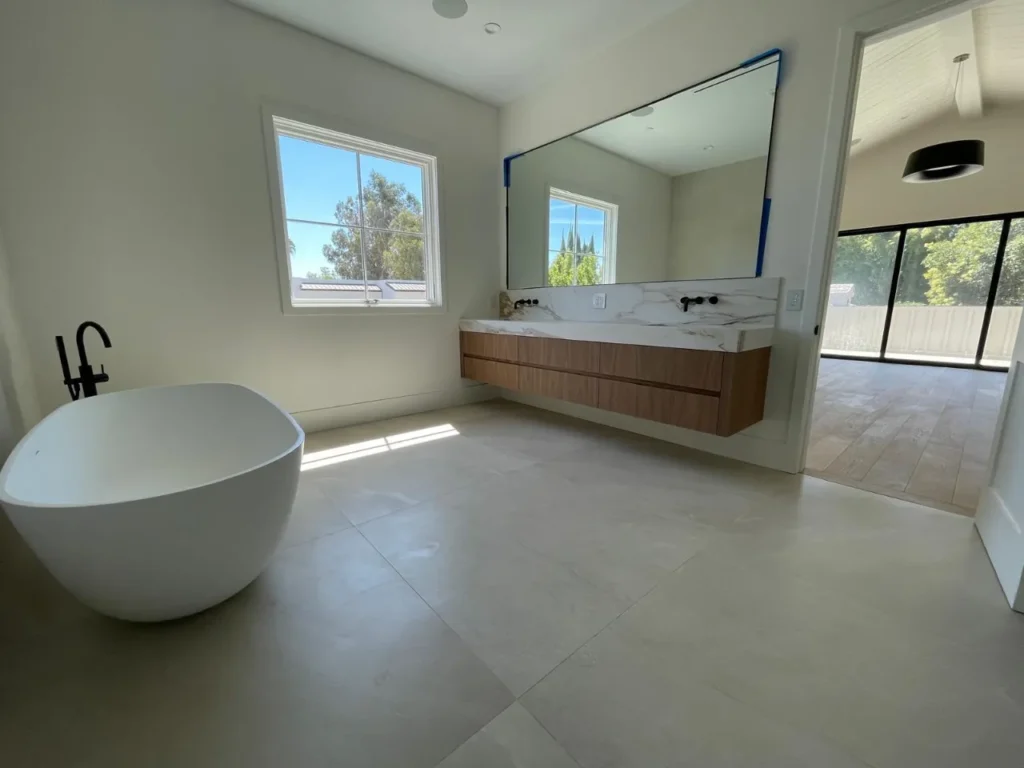
Now for the fun part—adding those final details that make the space uniquely yours. Hang mirrors, install towel racks, and set up shelving for storage. Consider adding a splash of color with fresh paint or wallpaper. Maybe throw in some decorative elements like artwork or plants to bring life into the room. These touches pull the whole space together and reflect your personal style.
Final Checks and Enjoyment
Before you call it a day, do a thorough check. Test all the faucets and fixtures to make sure they work properly and there’s no leaking. Check that the electrical outlets and lights are functioning safely. Open and close all drawers and doors to ensure they operate smoothly. Address any minor tweaks now to ensure your bathroom is perfect. Once everything checks out, give yourself a pat on the back—you’ve just transformed your bathroom!
Now for the fun part—adding those final details that make the space uniquely yours. Hang mirrors, install towel racks, and set up shelving for storage. Consider adding a splash of color with fresh paint or wallpaper. Maybe throw in some decorative elements like artwork or plants to bring life into the room. These touches pull the whole space together and reflect your personal style.
Conclusion
Remodeling a bathroom is a big project, but by following these five essential bathroom remodeling steps, you’re well on your way to success. From dreaming up your ideal space to adding those personal finishing touches, each step is important in creating a bathroom that’s not only beautiful but also functional and tailored to your needs. So go ahead, start planning, and soon you’ll be enjoying the bathroom of your dreams!
